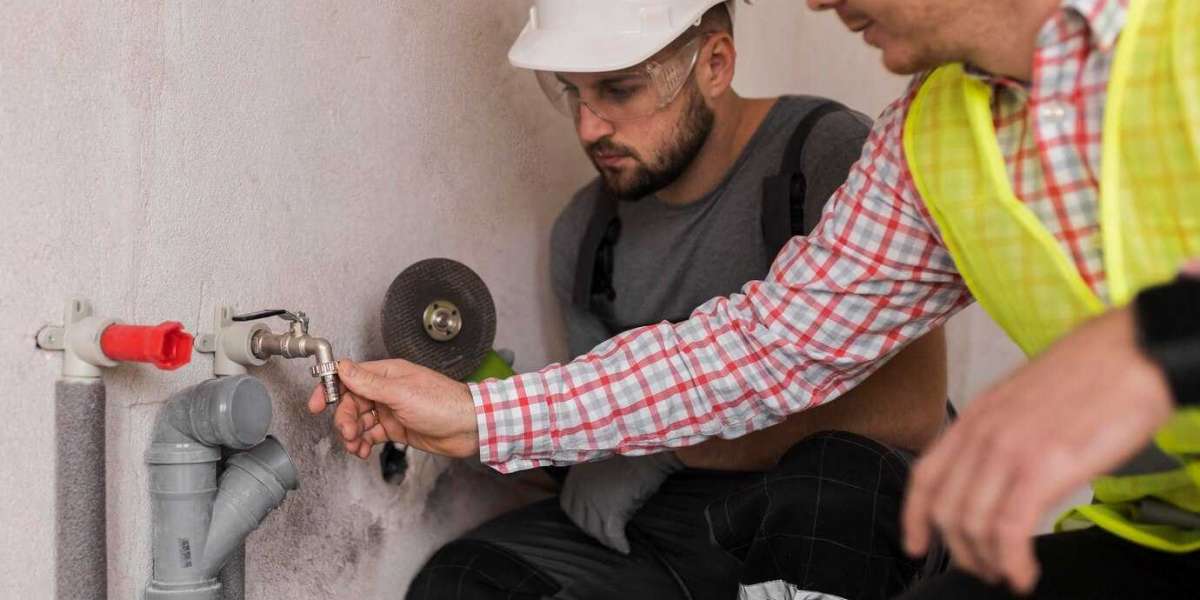

Imagine this: You’re sipping your morning coffee when—bam!—you spot water pooling under the sink. Before you know it, that tiny leak turns into a full-blown plumbing disaster. Sound familiar? That’s the costly nightmare of poor plumbing work.
Whether you're building a new home, upgrading your water system, or setting up drainage for better flow, cutting corners isn’t an option. A well-installed network of pipes isn’t just about getting water from point A to point B—it’s about preventing leaks, water damage, and those heart-stopping repair bills down the line.
Let’s dive into why proper plumbing installation is the unsung hero of your home’s infrastructure and how it saves you from breaking the bank in the long run.
The High Cost of Poor Plumbing Work
A botched plumbing job can set off a chain reaction of problems. Here’s what you might face if pipes aren’t installed correctly:
1. Leaks That Drain Your Wallet
A minor leak may seem harmless, but over time, it can cause:
- Water damage: Ruined drywall, warped floors, and mold growth.
- Sky-high water bills: A dripping faucet alone can waste 3,000 gallons of water per year!
- Structural issues: Long-term leaks weaken your home's foundation.
2. Burst Pipes in Extreme Temperatures
Poor insulation or improper sealing can cause pipes to freeze and burst when temperatures drop. That means flooding, costly emergency repairs, and a headache no homeowner wants.
3. Sewer Line Backups
A poorly installed drainage pipe can lead to clogs, blockages, and raw sewage backing up into your home. Yikes!
4. Corrosion and Premature Pipe Failure
Using the wrong materials or failing to install pipes with proper alignment can lead to rust, corrosion, and premature failure—meaning you’ll be replacing pipes far sooner than expected.
5. Reduced Water Pressure
Ever turned on your shower expecting a nice, strong flow only to get a weak trickle? That’s often the result of pipes that weren’t installed at the correct angle or with the right fittings.
Key Elements of a Well-Designed Plumbing System
So, what separates a rock-solid plumbing system from a ticking time bomb? Proper pipe installation hinges on these critical factors:
1. Choosing the Right Pipe Materials
Not all pipes are created equal. The type of piping you choose depends on your water system, budget, and local building codes. Here are some common options:
- PEX (Cross-linked Polyethylene): Flexible, resistant to corrosion, and great for both hot and cold water lines.
- PVC (Polyvinyl Chloride): Often used for drainage and waste systems due to its durability and low cost.
- Copper: A long-lasting, traditional choice that resists bacteria but can be pricey.
- Galvanized Steel: Strong but prone to rust over time, making it less popular today.
2. Proper Pipe Sizing and Slope
Pipes that are too small can cause clogs, while oversized pipes may lead to low water pressure. For drainage pipes, the right slope ensures water flows smoothly—too steep, and the water rushes past debris without carrying it away; too flat, and waste builds up.
3. Secure Fittings and Connections
Every joint and connection needs to be sealed correctly to prevent leaks. Using high-quality connectors and applying plumber’s tape or pipe dope (sealant) is essential to keeping things watertight.
4. Professional Installation of Drainage Pipes
When installing drainage pipe systems, proper placement is key. A poorly placed pipe can lead to standing water, foundation damage, and soil erosion. The correct trench depth and gravel bedding prevent pipes from shifting over time.
5. Regular Maintenance and Inspection
Even with perfect installation, regular inspections ensure your pipes remain in top shape. Checking for leaks, unusual noises, or slow drains can help you catch problems before they spiral out of control.
Common Mistakes in Plumbing System Setup
Even pros can make mistakes if they rush the job. Here are some frequent mistakes to avoid:
1. Ignoring Local Plumbing Codes
Building codes exist for a reason—to keep your plumbing system safe and efficient. Skipping permits or ignoring regulations can result in fines and costly rework.
2. Using the Wrong Pipe Material
Mixing incompatible materials (like connecting copper and galvanized steel without a dielectric union) leads to corrosion and failure.
3. Not Accounting for Pipe Expansion
Hot water pipes expand. If there’s no room for movement, they can crack over time. Using expansion loops or flexible connectors prevents this issue.
4. Over-Tightening Fittings
Cranking fittings too tight can actually weaken the connection, leading to cracks and leaks later on.
5. Poorly Installed Drainage Pipes
Laying underground piping without the right slope or proper bedding can cause water to pool instead of draining away, leading to soggy yards and foundation issues.
Step-by-Step Guide to a Proper Plumbing System Setup
If you’re planning to install or replace pipes, follow these key steps to ensure a solid, leak-free plumbing system.
1. Plan Before You Dig
Before laying underground piping or any plumbing lines, create a clear plan.
✔ Check local codes and permits – Regulations vary by location.
✔ Call before you dig – Utility companies can mark underground lines to avoid costly mistakes.
✔ Map out pipe routes – Avoid sharp turns that can slow water flow.
2. Choose the Right Pipe for the Job
Each type of pipe serves a different purpose:
✔ Water supply? PEX or copper.
✔ Drainage? PVC or ABS.
✔ High-pressure systems? CPVC or steel.
3. Ensure the Right Slope for Drainage Pipes
When placing underground piping, maintain a slope of ¼ inch per foot for proper water flow. If the slope is too shallow, waste builds up. Too steep? Water drains too fast, leaving debris behind.
4. Secure Joints Seal Connections
✔ Use Teflon tape on threaded pipes.
✔ Apply primer and cement for PVC connections.
✔ Avoid over-tightening, which can crack fittings.
5. Properly Support Your Pipes
✔ Strap pipes securely to prevent sagging.
✔ Use expansion loops for hot water lines to allow movement.
6. Test Before Closing Walls or Backfilling
✔ Pressure test water lines before covering them.
✔ Run water through drains to check for leaks.
✔ Inspect for proper water pressure and flow.
Wrap-up
And when it comes to professional, reliable excavation and plumbing system setup, look no further than Rocky Summit Excavation. Whether you need expert drainage solutions or a full plumbing overhaul, their team ensures top-tier craftsmanship that saves you money in the long run.
FAQ’s
Q1: How long does a plumbing system setup take?
A: A simple repair might take a few hours, but full-house plumbing can take several days to weeks depending on complexity.
Q2: Can I install pipes myself, or do I need a plumber?
A: Small jobs (like replacing a section of PVC) can be DIY, but for major plumbing work, hiring a professional ensures safety and compliance with building codes.
Q3: What’s the best pipe for underground drainage?
A: PVC is the top choice—it’s durable, resistant to corrosion, and handles heavy water flow well.