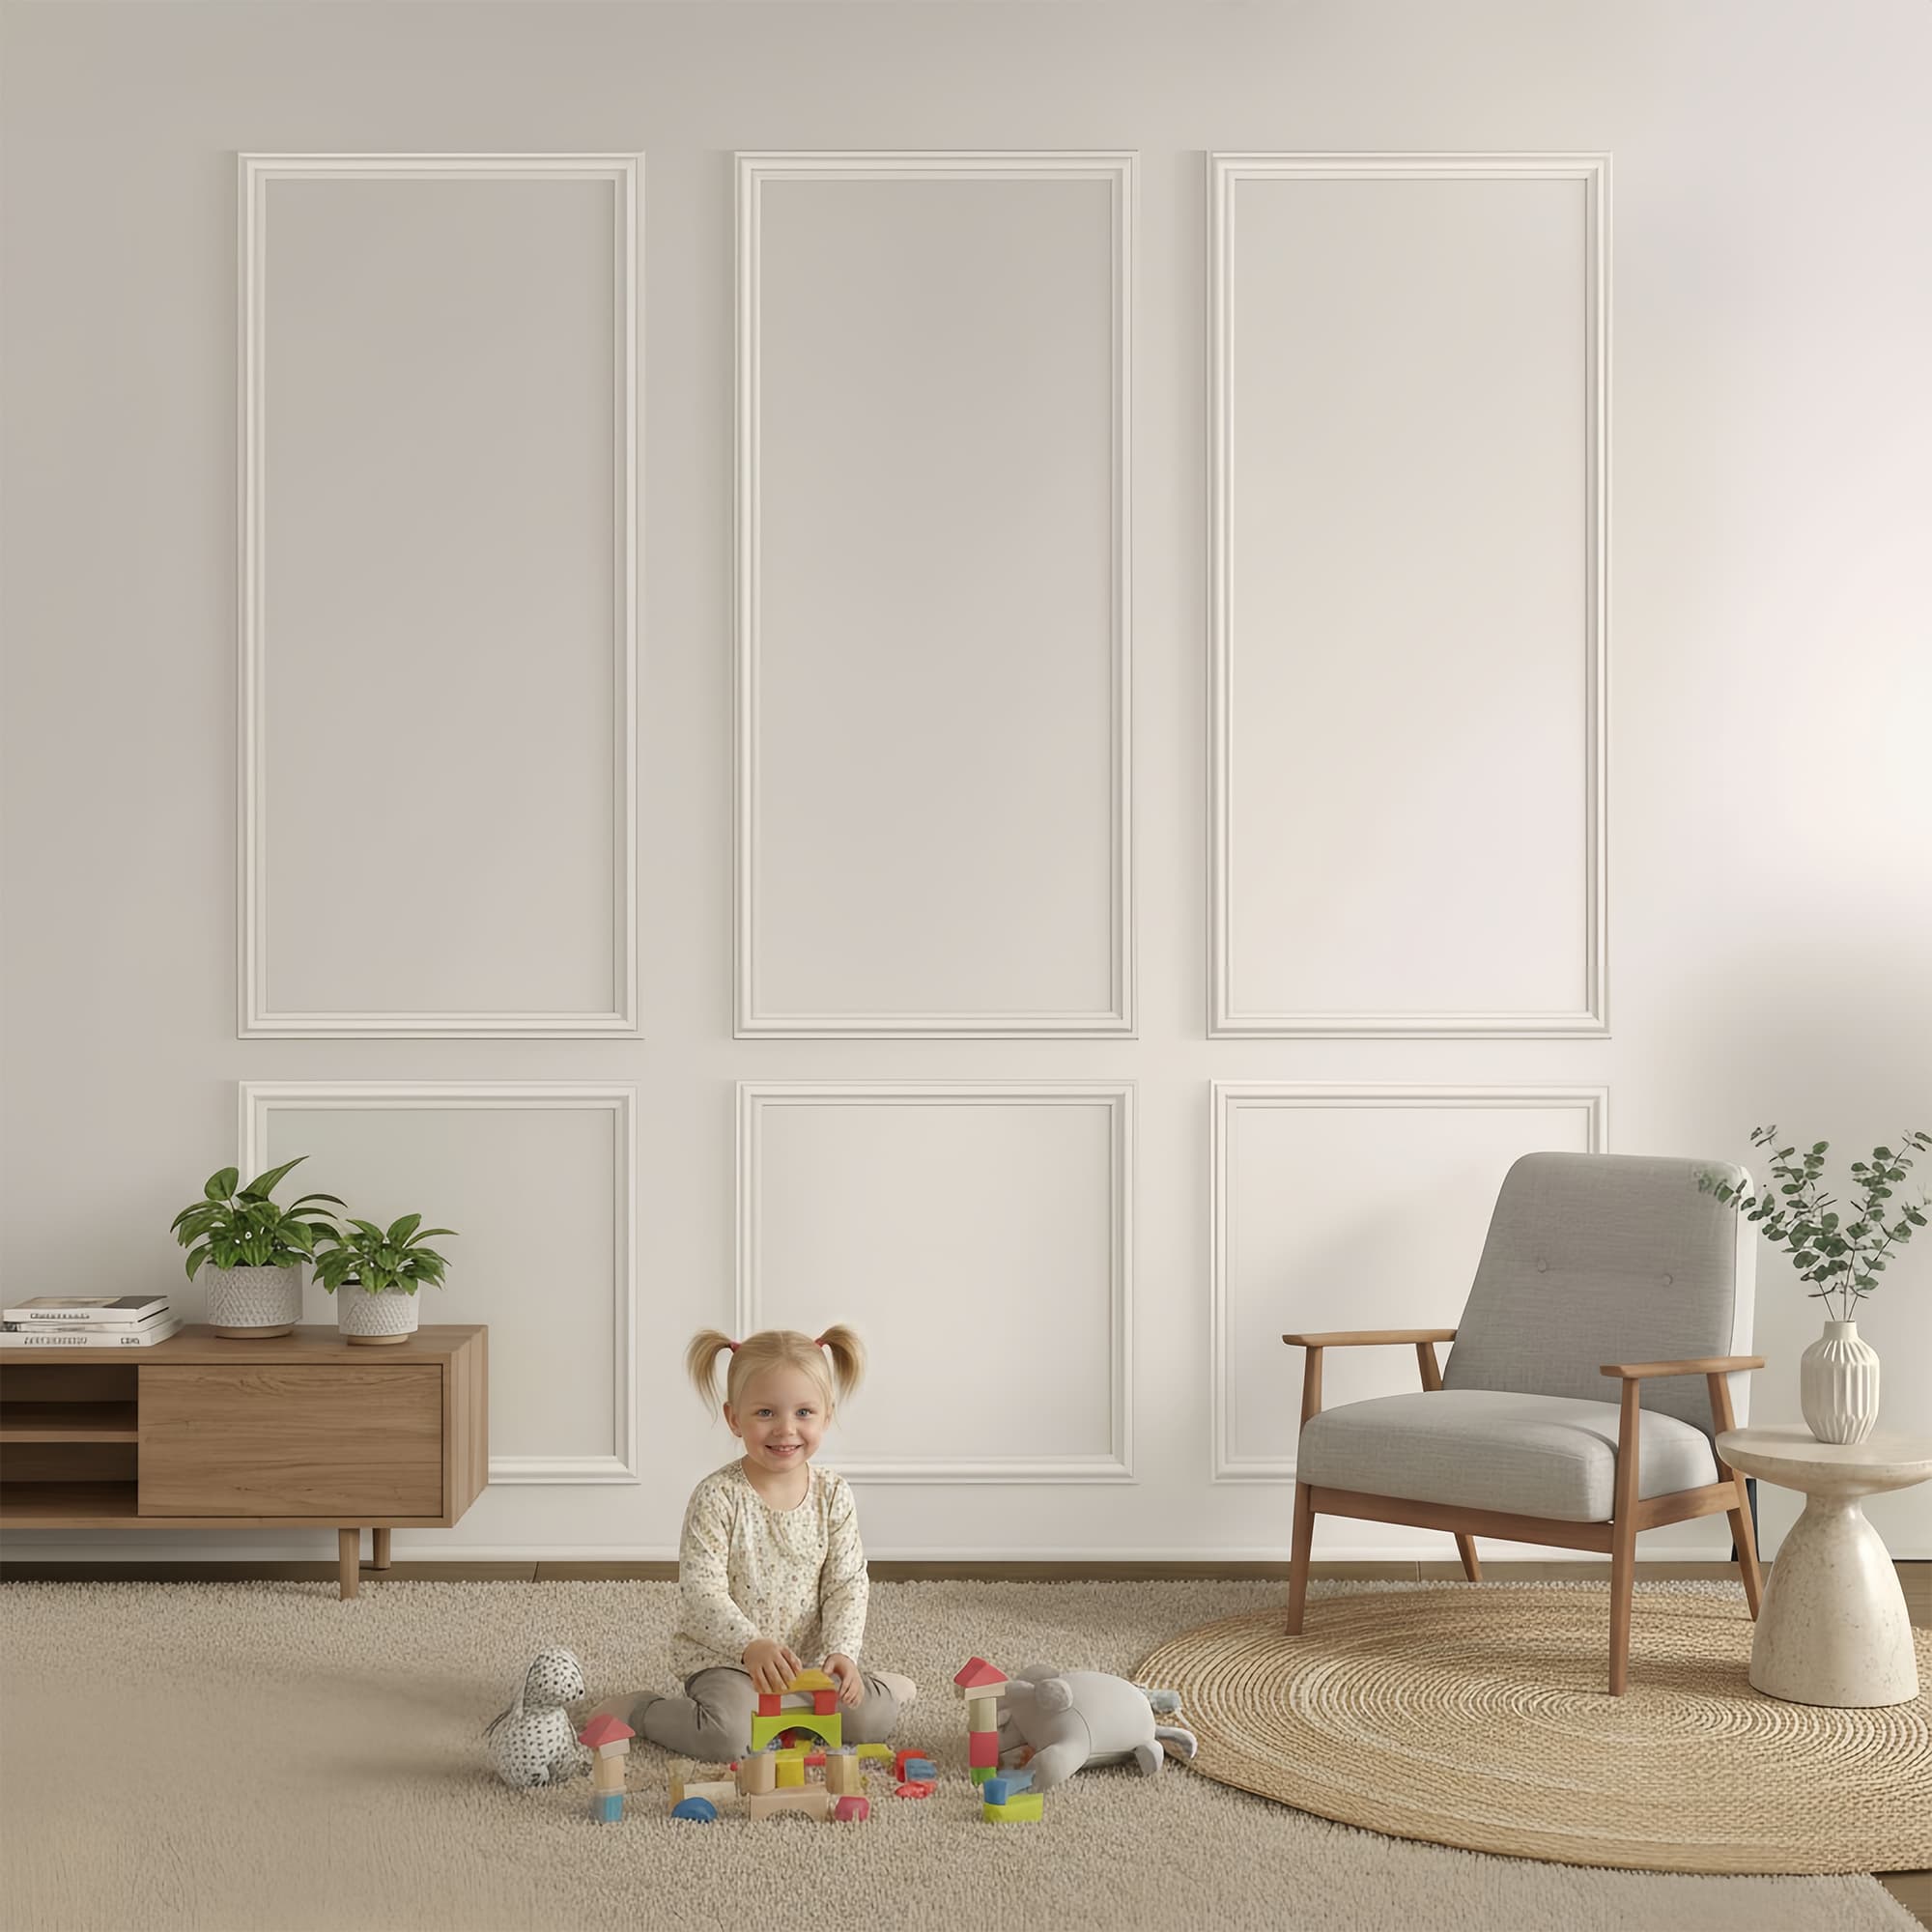
There is a reason certain design elements never truly go out of style. Picture frame wall molding has been gracing the walls of elegant homes for centuries, from Georgian townhouses to Colonial revival residences, and it continues to feel just as relevant today. The concept is beautifully simple: instead of hanging actual framed art, you create the illusion of frames directly on your wall surface using flat trim pieces arranged in rectangles or squares. This technique adds instant architectural credibility to any room, signaling that someone cared enough to invest time and thought into the details. Unlike many trends that scream their era loudly, picture frame molding whispers timelessness. It works just as well in a formal dining room as it does in a cozy bedroom, and it pairs equally happily with antique furniture and modern minimalist pieces. The secret to its enduring appeal is that it adds structure without adding clutter, organizing empty wall space into purposeful, pleasing shapes.
The Historical Roots That Still Inspire Today
Picture frame molding first gained widespread popularity during the Georgian era of the early 1700s, when architects began looking for ways to break up large, monotonous wall surfaces in grand homes. Before this innovation, wealthy homeowners relied on tapestries or massive oil paintings to cover their walls. The introduction of applied wooden panels offered a more permanent and less expensive solution. By the Victorian period, picture frame molding had trickled down to middle-class homes, often installed in dining rooms and parlors as a sign of refinement. What is fascinating is that the basic proportions and spacing developed centuries ago still guide how designers use this technique today. The golden ratio—approximately one point six to one—continues to inform the relationship between panel height and width. Modern homeowners are not bound by these historical rules, but understanding them provides a helpful starting point. When your panels look slightly off, chances are you have strayed too far from proportions that human eyes have found pleasing for three hundred years.
Choosing the Right Molding Profile for Your Panels
Not all trim is created equal when it comes to picture frame molding, and selecting the wrong profile can sabotage your entire project before you make a single cut. The ideal molding for this application is relatively flat with a simple profile, typically called flat stock or backband molding. You want something that sits close to the wall, usually between half an inch and three-quarters of an inch thick, with a width ranging from one and a half to three inches. Avoid anything with deep coves or elaborate flourishes, as those details will compete with the clean rectangular shapes you are trying to create. For a traditional look, choose molding with a slight bevel on the outer edge, which catches light and creates a soft shadow line. For a more contemporary interpretation, use completely flat stock with square edges, which reads as crisp and unapologetically modern. The material matters as well. Painted poplar or primed finger-jointed pine takes paint beautifully and resists warping. Polyurethane offers the same appearance at a lower cost but can feel slightly plasticky under close inspection.
Calculating Proportions That Feel Naturally Balanced
The single biggest mistake people make with picture frame molding is getting the proportions wrong, and unfortunately, it is a mistake that cannot be hidden once the pieces are glued and nailed. Start by measuring your wall height and width, then decide how many panels you want vertically and horizontally. A standard approach for an eight-foot wall is two panels stacked vertically, with the lower panel slightly taller than the upper one. For a nine-foot wall, three vertical panels often work beautifully. The spacing between panels should be roughly equal to the width of your molding, creating a harmonious relationship between positive and negative space. Leave a border of blank wall around the entire arrangement, typically between four and eight inches from ceiling, floor, and corners. This breathing room is what transforms a random grid of rectangles into intentional picture frames. Use painter’s tape to map out your proposed layout on the wall before cutting anything. Live with the tape outlines for a full day, observing how they interact with your furniture, windows, and light sources. Adjust as needed until the proportions feel instinctively right.
Tools and Techniques for Sharp, Clean Corners
Picture frame molding requires mitered corners to look authentic, because real picture frames have forty-five-degree angles at each corner. This is the most technically demanding part of the installation, but it is entirely manageable with the right approach. A miter box paired with a fine-tooth backsaw will produce accurate cuts for most standard molding widths. For wider profiles, consider renting or borrowing a power miter saw, which eliminates the hand-sawing effort and increases precision dramatically. The secret to tight miter joints is not just accurate cutting but also careful assembly. Apply adhesive to both mitered faces, press the corners together firmly, and drive a finish nail through each side of the joint to hold it closed while the glue dries. If you end up with small gaps despite your best efforts, do not panic. Painter’s caulk squeezed into the gap and smoothed with a wet finger will make the imperfection disappear under paint. Professional trim carpenters use this trick constantly; they simply do not advertise it.
Installation Order That Saves Time and Frustration
Installing picture frame molding follows a logical sequence that, if respected, prevents the kind of mistakes that make you want to throw your level across the room. Start by establishing a reference line around your entire wall using a laser level or a long spirit level. This line, typically set at the height where your lowest horizontal pieces will go, ensures that everything remains perfectly straight even if your floor or ceiling is not. Next, install all the vertical pieces from floor to ceiling, checking each one with a level before nailing. Then add the top and bottom horizontal pieces that connect those verticals, mitering the ends where they meet. Finally, install the inner horizontal pieces that create the tops and bottoms of each individual frame. This order—verticals first, then horizontals—means that any slight variation in your wall surface gets absorbed into the horizontal cuts rather than creating visible gaps along the long vertical runs. Work from the center of your layout outward, which keeps the design centered on the wall even if your measurements drift slightly toward the edges.
Finishing Secrets for a Seamless Built In Look
The difference between picture frame wall molding that looks like a DIY project and molding that looks like it has always been there comes down to finishing details that take an extra hour but deliver professional results. After all pieces are installed and all nail holes are filled, run a thin bead of paintable latex caulk along the entire perimeter where the molding meets the wall. Smooth it with a damp finger or a caulk finishing tool, wiping away excess with a wet rag. This caulked seam eliminates the shadow line that otherwise reveals that the molding is sitting on top of the wall rather than being part of it. Once the caulk dries, sand the entire assembly lightly with a fine-grit sponge, focusing on the corners where filler may have left ridges. Prime everything with a high-adhesion primer, then apply two thin coats of your finish paint using a small foam roller for the flat faces and a brush to cut into the inner corners. The foam roller leaves almost no texture, helping the molding read as a single continuous surface rather than individual sticks of wood.
Painting Strategies That Enhance or Minimize the Frames
One of the greatest strengths of picture frame molding is its chameleon-like ability to play different roles depending entirely on your paint choices. For a subtle, textural look that adds interest without drama, paint the molding the exact same color and sheen as the wall. The frames will reveal themselves in changing light and shadow, creating a quiet elegance that never overwhelms. For a more traditional appearance, paint the molding a glossy white while keeping the wall a matte color, which makes each frame pop like an actual piece of art. The boldest approach involves painting the wall one color and the molding a completely different, contrasting hue. Deep navy walls with bright white frames create a dramatic, almost graphic effect that works beautifully in home offices or powder rooms. Consider also painting the interior of each frame—the wall area inside the molding—a slightly different shade than the exterior wall. This creates the illusion of a mat within each frame, adding another layer of depth and sophistication to an already elegant treatment.