
The Hidden Impact of Moisture and Age
It is a common sight in the restoration workshop: a seemingly solid EH Holden reveals significant floor decay once the carpets are pulled back. Over the decades, moisture often migrates into the cabin through perished windscreen rubbers or faulty heater cores. This water settles under factory-fitted mats, creating a humid microclimate that slowly compromises the steel.
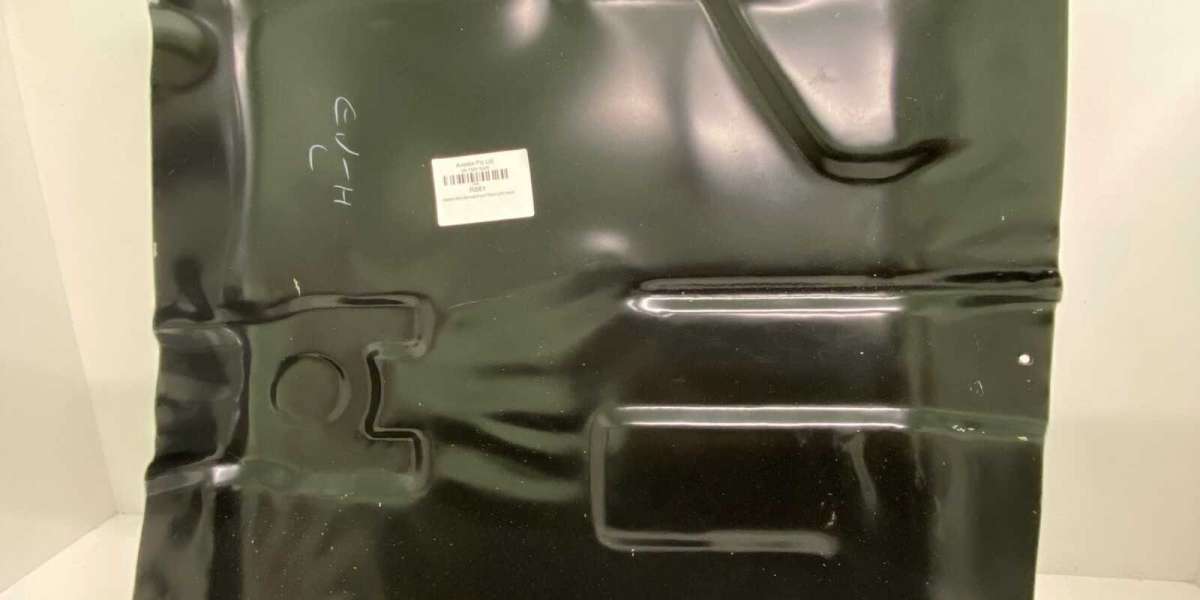
In manual-transmission models, the floor architecture is particularly complex. The pressing must accommodate the specific contours of the gearbox tunnel, meaning a generic flat sheet of metal cannot replicate the original profile. Utilizing a precision-fit Holden EH Manual Front Floor Left Hand panel ensures that the floor remains structurally sound while maintaining the vehicle’s authentic factory lines.
Engineering Advantages of a Purpose-Built Repair Section
Opting for a specialized Holden EH Manual Front Floor Left Hand component from a provider like Aveska offers several distinct benefits over manual fabrication:
Geometric Accuracy: These panels feature the exact swage lines and strengthening ridges found in the original 1960s pressings, providing essential rigidity.
Transmission Tunnel Clearance: Specifically engineered for manual variants, the panel fits the curve of the gearbox housing perfectly, saving hours of difficult metal beating.
High-Grade Materials: Manufactured from durable, weld-ready steel, the section provides a solid foundation that facilitates clean, long-lasting repairs.
Ready for the Workshop: To ensure a smooth workflow, the panels are generally treated with a light protective coating to prevent surface rust during storage.
Essential Steps for a Professional Installation
Replacing a floor pan is a foundational task that requires a methodical approach. To achieve the best results with your Holden EH Manual Front Floor Left Hand panel, consider these professional tips:
Expose the Damage: Use a wire wheel or stripping disc to remove all paint and underseal. You must find "bright" metal to ensure a strong, structural weld.
Scribe a Precise Template: Overlay the new section and mark your cut lines carefully. Aiming for a tight butt-weld will result in a repair that is virtually invisible once finished.
Survey the Chassis: Before you begin cutting or welding, always check the underside for fuel and brake lines. These often run close to the floorboards and must be safely shielded.
Seal for Longevity: Once the welding is complete, apply a high-quality automotive seam sealer and a zinc-rich primer. This prevents moisture from reaching the new joints and starting the oxidation cycle all over again.
A Solid Investment in Motoring History
As the value of the EH Holden continues to climb, the quality of a restoration significantly affects its market appeal. By choosing a dedicated Holden EH Manual Front Floor Left Hand repair panel, you are investing in the safety and longevity of an Australian icon. A solid floor is the first step toward a classic that will be enjoyed for another sixty years.