I. Introduction
Many different factors can lead to orchid leaves turning purple. You should understand the reason and how to fix them.
II. Why Are My Orchid Leaves Turning Purple?
1. Nutrient Deficiency
Phosphorus is essential for converting light energy into food. A lack of phosphorus can lead to slow growth and lower orchid leaves turning purple or dark.
Magnesium is at the heart of chlorophyll, the green pigment responsible for photosynthesis. Without it, orchid leaves can take on a purple or reddish hue.
Potassium ensures proper water regulation within the plant. It also helps regulate metabolic activity. Potassium deficiency can lead to stress and discoloration.
2. Temperature Stress
Orchids can be persnickety about their climate. Sudden or prolonged exposure to temperature extremes, particularly cold, can cause leaves to turn purple or even black. This condition is referred to as "chilling injury."
Extreme cold affects a plant's ability to carry out photosynthesis. In response, the leaves may become discolored as the plant redirects resources to cope with the stress.
3. Lighting Issues
One of the common culprits behind orchid leaves turning purple is a lighting imbalance. Insufficient light, often the result of over-shading. This can lead to the lack of chlorophyll production and cause the leaves to turn purple. Conversely, too much direct sunlight can scorch the leaves, prompting a similar reaction.
4. Disease and Pests
Pathogens and pests are another concern. This could manifest as purple spotting on your orchid’s leaves. Fungal infections can both cause discoloration and will often progress to cover larger areas of the leaf. For example, Botrytis and bacterial spots.
Similarly, certain pests can also damage the leaf tissues. For example, spider mites and thrips. They disrupt the photosynthesize and lead to discoloration.
5. Watering Problems
Overwatering or underwatering can have severe consequences for orchids. For example, root rot and improper nutrient uptake. These water-related issues can also contribute to orchid leaves turning purple.
Overwatering suffocates the roots, preventing hydration, and subsequent nutrient absorption. Alternatively, underwatering deprives the orchid of the necessary water to maintain proper cellular processes.
III. Identifying the Type of Purple Discoloration
1. Uniform Purple Coloring
When every leaf on your orchid is turning purple, it’s a sign of a more widespread issue. Generally, this type of discoloration suggests that your orchid is under stress. This could be due to overwatering, poor drainage, or a nutrient deficiency.
Overwatering can lead to root rot, which in turn will affect the entire plant. With compromised roots, your orchid in 5 litre plant pot may not be able to absorb nutrients properly. This leads to a nutrient deficiency and orchid leaves turning purple underneath.
If it's a nutrient deficiency, the most likely culprits are phosphorus or potassium. Phosphorus is crucial for healthy root and flower development. While potassium plays a role in overall plant health and disease resistance.
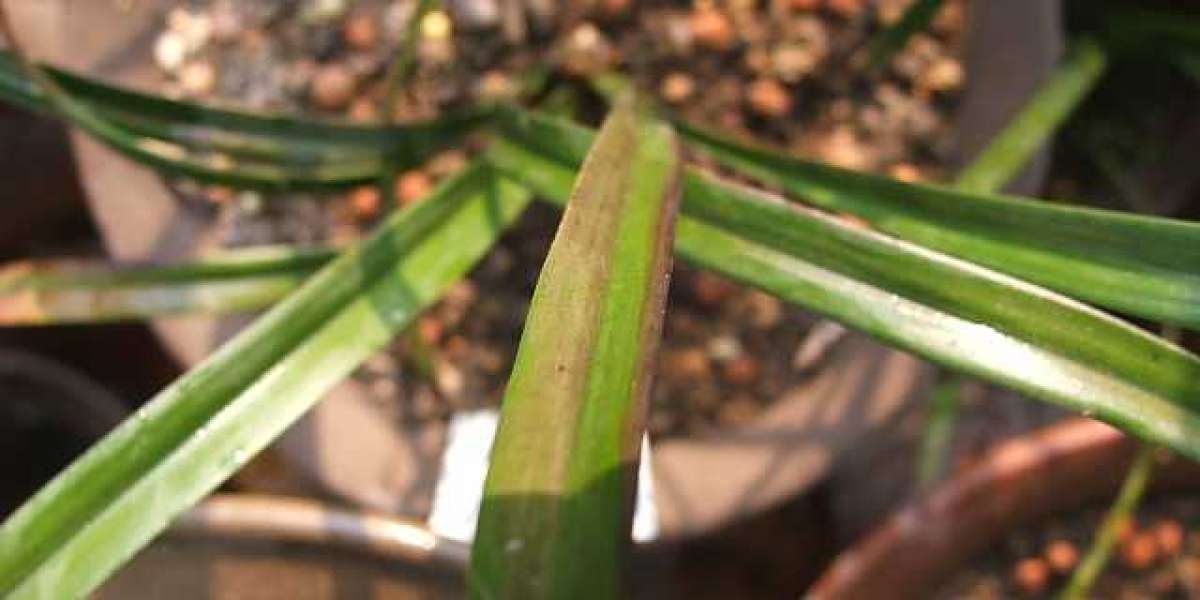
2. Spots or Patches
If your orchid’s leaves are developing spots or patches of purple, the cause may be more localized. These symptoms can arise from some issues. For example, pests, fungal infections, or even environmental factors.
Insects like thrips and spider mites can pierce the plant cells. This leads to a cluster of purple spots where their feeding has taken place. Fungal infections can damage the leaf tissue if the plant is in a humid environment. This can result in purple patches.
If you’ve recently moved your orchid to a new location with different light or temperature conditions, this environmental change could also be the cause of the purple patches.
IV. Solutions to Prevent or Treat Purple Orchid Leaves
1. Nutrient Management
Proper fertilization is a proactive measure against many orchid leaf issues. Check the frequency and concentration of your fertilizer. Adjusting as necessary to ensure your orchid receives the right balance of nutrients. Regular feeding throughout the year. This helps maintain the health of your orchid's leaves.
2. Temperature Control
Ensure keep your orchids in an environment with a consistent temperature. If exposed to cold drafts, especially those with high humidity, their leaves might turn purple to cope with the low temperatures.
3. Light Adjustment
If your orchids in plastic plant pots are not getting enough light, try moving them closer to a bright window. But make sure they are not exposed to direct sunlight. This can scorch the leaves.
4. Disease and Pest Management
Regular inspection and control measures are necessary. Use a horticultural oil or insecticidal soap to treat infestations. On the disease front, fungal infections can also impact nutrient distribution within the plant. This results in discoloration. Preventive measures can combat these issues. For example, good air circulation.
5. Proper Watering Techniques
Employ a "dry-damp" cycle in your watering routine. Allow the medium to dry slightly between waterings. This approach fosters healthier root systems that can better absorb essential nutrients.
Always water your orchids in the morning. Allowing them to dry up before nightfall. When watering, ensure the water completely drains to avoid salt buildup and root rot.
6. Soil Health
The soil medium in which your orchid is potted plays a significant role in nutrient absorption. Consider repotting with fresh, orchid-specific medium if the current medium is not allowing for adequate airflow to the roots.
V. Tips for Orchid Leaf Care and Maintenance
1. Regular Inspection
The more you know your orchid, the easier it will be to spot potential issues before they become a problem. Make a habit of inspecting the leaves, roots, and overall plant condition regularly.
2. Humidity Control
Maintaining appropriate humidity can significantly improve your orchid's well-being. For most orchids, a humidity level of around 40-70% is ideal. During the dry winter months, misting the plant can also be beneficial.
3. Proper Potting
Use a specifically designed orchid potting mix and a 2 gallon flower pot with ample drainage holes. This can facilitate air circulation and prevent waterlogging.
4. Pruning and Grooming
When you notice any damaged or dead leaves, it’s best to remove them promptly. Be careful to use sterilized tools to prevent the spread of disease. Grooming your orchid can also involve removing spent blooms to promote new growth.
VI. Conclusion
Understanding the reasons behind purple orchid leaves. You can help your plant flourish by taking these corrective steps. Patience and attention to detail are the keys to successful orchid care.