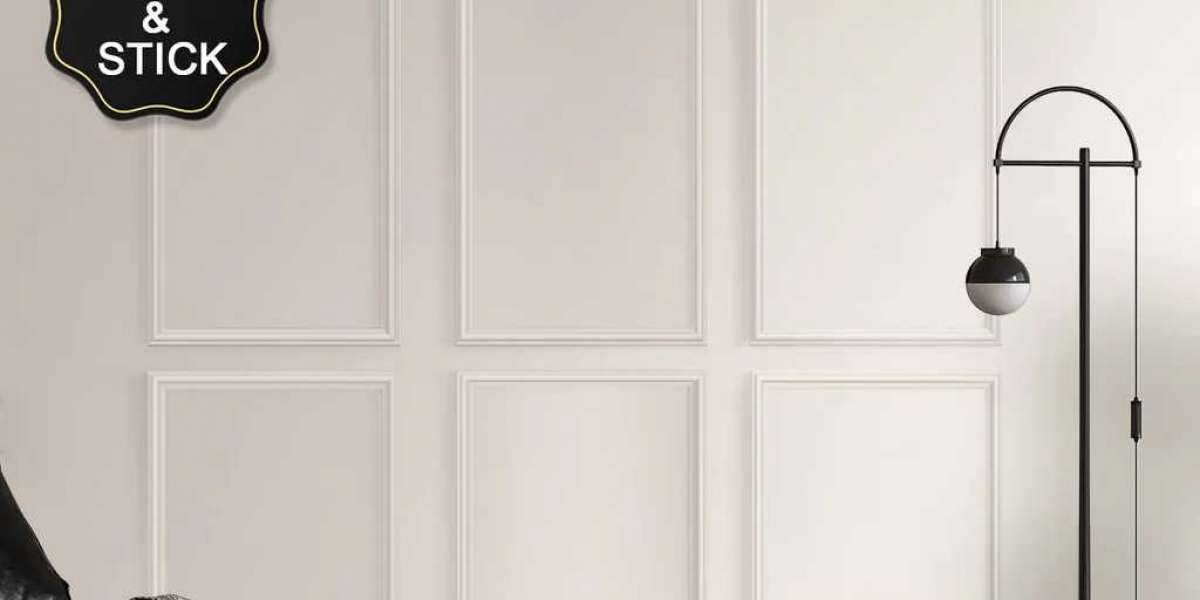
There was a time when adding architectural detail to your walls meant committing to a weekend of sawdust, power tools, and the kind of precision measuring that makes most people break into a cold sweat. That era has happily come to an end with the arrival of peel and stick wall molding kits, which have revolutionized how homeowners approach wall treatments. These innovative products strip away everything intimidating about traditional installation while preserving all the visual impact that makes molding so desirable. The concept is beautifully simple, pre-formed molding pieces with strong adhesive backing that allows you to create stunning wall features without a single power tool. What makes these kits so revolutionary is how they democratize home design, opening up possibilities for renters who cannot make permanent changes, busy families who cannot dedicate entire weekends to construction projects, and anyone who has ever looked at their plain walls and wished for something more. The transformation happens in hours rather than days, with no drying time required and no living with construction mess. You can step back and admire your work immediately, then arrange furniture and hang art the same day.
The Technology Behind Reliable Adhesion
The secret behind every successful peel and stick wall molding kit installation lies in the sophisticated adhesive engineering that makes it all possible. These aren't your grandmother's sticky strips that lose their grip after a few weeks or fail when temperatures change. Modern peel and stick products utilize industrial-grade acrylic adhesives that form permanent bonds with wall surfaces, yet somehow know when to let go without damaging paint or drywall when you're ready for a change. The technology has evolved to account for the various challenges walls present, including temperature fluctuations, humidity variations, and the natural settling that happens in all homes. Manufacturers have spent years developing adhesive formulas that grab hold immediately upon contact but give you just enough working time to adjust placement before the bond becomes permanent. This delicate balance between instant grip and adjustability is what makes these kits so forgiving for first-time users. The adhesive layers are also engineered to be thick enough to bridge minor imperfections in wall surfaces, ensuring that your molding lies flat and stays put even on walls that aren't perfectly smooth. This technological evolution has effectively removed the most intimidating aspects of wall molding installation, replacing uncertainty with confidence.
Materials That Look and Feel Authentic
Anyone who hasn't looked at peel and stick molding recently might be picturing flimsy foam with a fake wood grain pattern that screams DIY project from across the room. The reality today could not be more different. Premium peel and stick molding kits are crafted from high-density polyurethane and reinforced polymers that have weight, density, and surface quality remarkably similar to traditional wood or plaster moldings. When you run your hand across these pieces, they feel substantial and solid, with crisp detail lines that hold up under close inspection. The surfaces are designed specifically to accept paint beautifully, allowing you to customize the color to match your exact vision. Once painted and installed, even trained eyes often cannot distinguish these modern materials from traditional millwork. The lightweight nature of the materials, which makes installation so effortless, belies their durability. They resist dings and dents better than many wood alternatives, and they won't warp or crack as seasons change. For high-moisture areas like bathrooms, these materials actually outperform wood, maintaining their perfect appearance year after year without the swelling or deterioration that plagues natural materials in damp environments.

Planning Your Design Without Commitment
One of the most liberating aspects of working with peel and stick molding is how it changes the design process itself. Traditional molding installation requires such certainty before you begin that experimentation feels impossible. You measure obsessively, second-guess your decisions, and hope you'll love the result because changing it means starting over completely. Peel and stick kits flip this dynamic entirely. Because the pieces go up without damaging your walls, you can actually test your design before committing to it. Lay out the pieces on the floor in your intended arrangement and live with the paper template for a day. Better yet, use painter's tape to mark the positions on your wall and step back repeatedly to assess the proportions. Many people find that what looks perfect on paper feels wrong at actual scale, and peel and stick allows you to discover and correct this before anything becomes permanent. You might realize that your panels need to be wider, or that the spacing between them should be adjusted, or that the whole design would work better shifted six inches to the left. This flexibility to iterate and refine transforms wall molding from a nerve-wracking permanent commitment into an enjoyable creative process where you remain firmly in control.
Surface Preparation for Lasting Results
While peel and stick molding eliminates most of the messy, complicated aspects of traditional installation, it does reward proper surface preparation with results that last for years. Taking an hour to prepare your walls properly makes the difference between molding that stays firmly in place and pieces that gradually lose their grip around the edges. The process starts with a clean surface, and clean in this context means more than just dusting. Walls need to be free of any grease, cooking residue, or the slight film that can accumulate from candles and everyday living. A simple solution of mild dish soap and water, applied with a sponge and followed by a thorough rinse, removes these invisible barriers to adhesion. For kitchens and bathrooms where grease and humidity are factors, a quick wipe with rubbing alcohol provides extra insurance. The second critical factor is paint condition. Fresh paint in good condition provides an ideal surface, but if your walls have peeling areas or glossy finishes that might resist adhesion, addressing these issues beforehand saves frustration later. A light sanding of glossy areas and patching of any divots creates the smooth, even surface that adhesive loves. This preparation work, while not the most glamorous part of the process, pays dividends in the final result.
The Installation Experience From Start to Finish
Actually putting peel and stick molding on your walls feels almost anticlimactic after all the planning and preparation, and that's exactly how it should feel. The process itself is remarkably straightforward, designed to build confidence with every piece you place. Most installations begin in a corner or along a reference line you've established with a level, ensuring everything stays true as you work across the wall. You peel back a portion of the protective backing, position the piece according to your markings, and gradually reveal more adhesive as you press the molding into place. The material's slight flexibility allows it to conform to minor wall irregularities, and the instant grab of the adhesive holds it firmly while still permitting small adjustments if you notice something slightly off. Working your way across the wall, piece by piece, you watch your design materialize before your eyes. Corner pieces and intersections require a bit more attention, but the pre-cut angles on quality kits mean even these potentially tricky spots go together smoothly. Within hours rather than days, your bare wall transforms into an architectural feature, with no drying time required and no living with construction mess. You can step back and admire your work immediately.
Painting for a Seamless Custom Look
The painting stage represents the final transformation where your peel and stick installation becomes indistinguishable from traditional millwork. While the molding arrives in a neutral primed state, it's the paint that truly integrates it with your walls and makes it feel like a permanent part of your home's architecture. The approach you take depends on the look you're after. Painting the molding the exact same color as your walls creates that sophisticated tonal effect where the dimensional quality catches light without contrasting color. This approach requires painting the entire wall and molding together after installation, which actually simplifies the process since you're doing one continuous job rather than cutting in around edges. If you prefer contrast, paint the molding separately before installation, then touch up any spots where wall paint gets on the molding during final edging. The materials accept paint beautifully, with the slightly porous surface grabbing onto primer and color for a lasting bond. A quality angled brush makes quick work of getting paint into all the crevices and details, and two thin coats consistently outperform one thick coat for that smooth, professional finish. Once the paint dries, your molding looks like it was always there, as though your home came with this beautiful architectural detail from the very beginning.
Living With and Adapting Your Installation
One of the most practical advantages of peel and stick wall molding reveals itself over time as you live with your installation. Traditional molding represents a permanent commitment, but life and tastes change in ways we cannot always predict. Perhaps your design aesthetic evolves toward something more minimal, or maybe you move to a new home and want to take your beautiful molding with you. Peel and stick installation gives you options that traditional methods simply cannot. When removal becomes necessary, gentle heat from a hair dryer warms the adhesive, allowing you to slowly peel pieces away without damaging the underlying paint. Any minimal adhesive residue comes off easily with rubbing alcohol, leaving your walls exactly as they were before installation. The molding itself, with its original adhesive protected by the backing paper you saved, can be reinstalled elsewhere or gifted to a friend starting their own project. This reversibility matters particularly for renters who have long been excluded from architectural upgrades, but it also appeals to homeowners who simply like knowing their choices remain flexible. You install with confidence not because you're trapped forever, but because you know you'll love the look today and have options for tomorrow.